How to Pose for Photos: A Beginner's Guide for New Models
Standing in front of a camera for the first time can feel strangely difficult. Your arms don't know where to go, your smile stiffens, and the easy confidence you have with friends seems to vanish the moment the shutter clicks. If that sounds familiar, take heart: posing is not a mysterious gift that some people are simply born with. It is a practical skill — a set of small, learnable habits — and every model you admire once felt exactly as unsure as you might feel now.
This guide breaks posing down into its building blocks, from posture to hands to expression, so you can walk into your first shoot knowing what to do with your body. Practise a little at home and it will start to feel natural far sooner than you expect.
Posing is a skill, not a talent
It is worth saying clearly, because it changes how you approach everything else: almost nobody is naturally photogenic. What looks like effortless ease in an editorial image is the result of understanding a handful of principles and repeating them until the body remembers. Photographers work with new faces every day and expect to guide you — you are not supposed to arrive already knowing everything.
So give yourself permission to be a beginner. The goal of your first shoots is not perfection; it is to learn how your face and body read on camera, which angles feel good, and how to take gentle direction. That learning is the whole point, and it comes surprisingly quickly.
Start with your posture
Almost every good pose begins with the spine. It is the single most powerful thing you can control, and it instantly reads as confidence while elongating the whole body. Lengthen through the top of your head as if a thread were gently pulling you upward, roll your shoulders back and down, and let your chest open.
- Spine tall, not stiff — lengthen upward but keep a little softness so you don't look frozen.
- Shoulders down and back — this opens the collarbones and the neck, which cameras love.
- Weight slightly back — shifting onto your back foot stops you leaning into the lens and looking top-heavy.
Turn slightly — don't face the camera square-on
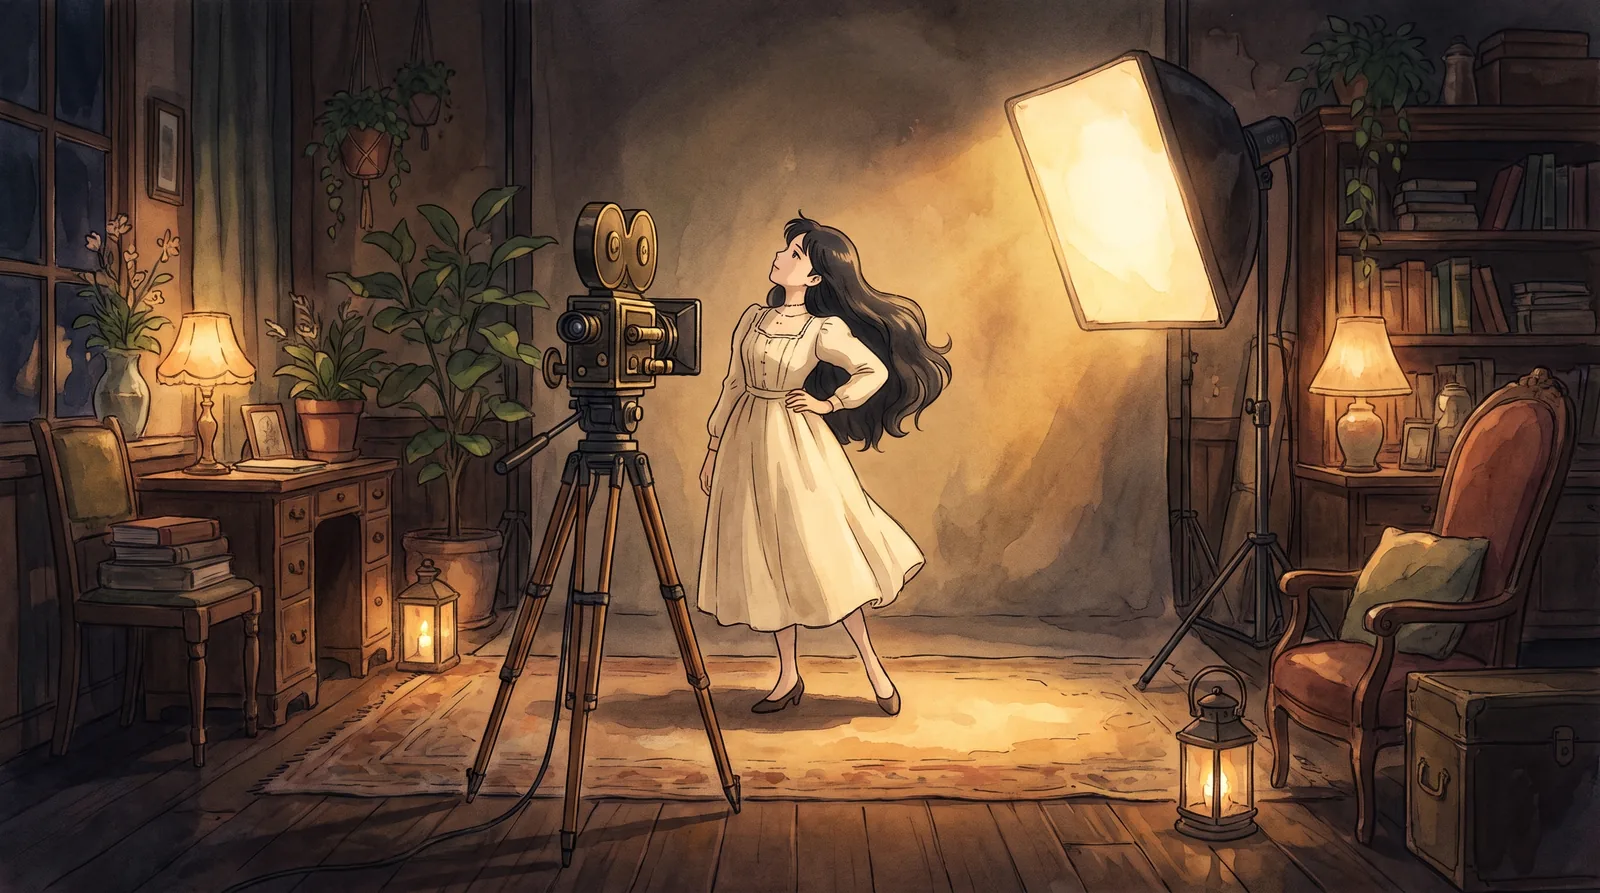
Standing perfectly square to the lens tends to flatten the body and make it look wider. Instead, turn about three-quarters toward the camera, a gentle angle. Place one foot slightly in front of the other, put most of your weight on the back leg, and let the front knee relax. This creates a natural line and a hint of shape rather than a stiff, symmetrical stance.
A small angle also gives the image a sense of movement, as though you were caught mid-moment rather than posed. Experiment with turning a little more or a little less, and notice how different each version feels.
What to do with your hands
Hands are the part almost everyone finds hardest, because tension shows in them immediately. The trick is to keep them soft and lightly occupied. Just before a shot, shake your hands out the way you would before exercise, then work with gentle bends at the wrists, elbows and fingers. Avoid pressing your arms flat against your body — leave a small gap so your waist stays visible and your silhouette stays light.
- Rest a hand lightly on your hip, on a collar, or in a pocket with the thumb out.
- Keep fingers relaxed and slightly separated — never rigid or clenched.
- Show the side of the hand to the camera rather than the flat back of it.
Your face: chin, jaw and eyes
A relaxed, alive face turns a good pose into a great photo. Bring your chin slightly forward and down — it feels a little odd, but it defines the jawline and avoids the flattening you get when the chin lifts too high. Soften your forehead, part your lips just a little, and breathe out slowly as the photo is taken so your expression stays easy.
The eyes carry the whole image. Think of something specific — a person, a small happy memory — in the moment before the shutter, and let a genuine feeling reach your eyes. A real, quiet expression will always read better than a wide, forced smile.
Keep moving and breathing — don't freeze
The most common mistake is holding a single pose rigidly and waiting. Photos taken between movements almost always look more natural than photos taken at a held peak. Keep breathing, and let one pose flow into the next: shift your weight, turn your head, move a hand, drop your shoulders, look away and back. A good photographer shoots continuously and catches the in-between moments where you look most alive.
If you feel stuck, reset with your breath — a slow exhale releases the tension in your shoulders and face far better than trying to relax on command.
Practise at home before your shoot
You don't need a studio to get comfortable. Stand in front of a mirror or set your phone on a windowsill and try the principles above in soft, natural light. Notice which angles feel and look best to you; almost everyone has a preferred side. This is the same gentle practice that helps when you take your digitals at home, and it will make your first test shoot feel far less daunting.
Ten quiet minutes a few times a week is plenty. The aim isn't to memorise a catalogue of poses but to build an easy familiarity with your own body, so that on the day you can simply respond to the camera.
When you're ready, we'd love to see you
Confidence in front of a camera grows with every shoot, and the first one is simply the beginning. At Andrews we scout new faces across Ukraine, and we look at potential rather than polish — you do not need a professional portfolio to reach out. If you would like to be considered, our application is free and open, and a real person reads every submission and replies within seven days. You can also read our guide for new faces to see what working with an agency actually looks like.
Wherever you are on the journey, keep practising, stay curious, and be kind to yourself in front of the lens. That quiet ease is what the camera is really looking for.